2 : The LED
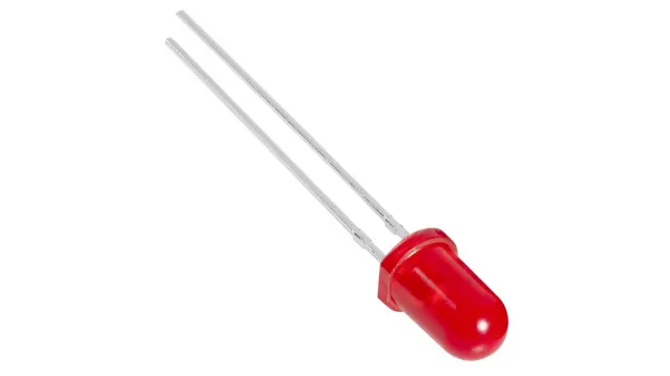
Everyone knows what it is, everyone likes it. The Light Emitting Diode will convert electricity to light.
Long leg = + side
short leg = - side

How do we give current to the LED?
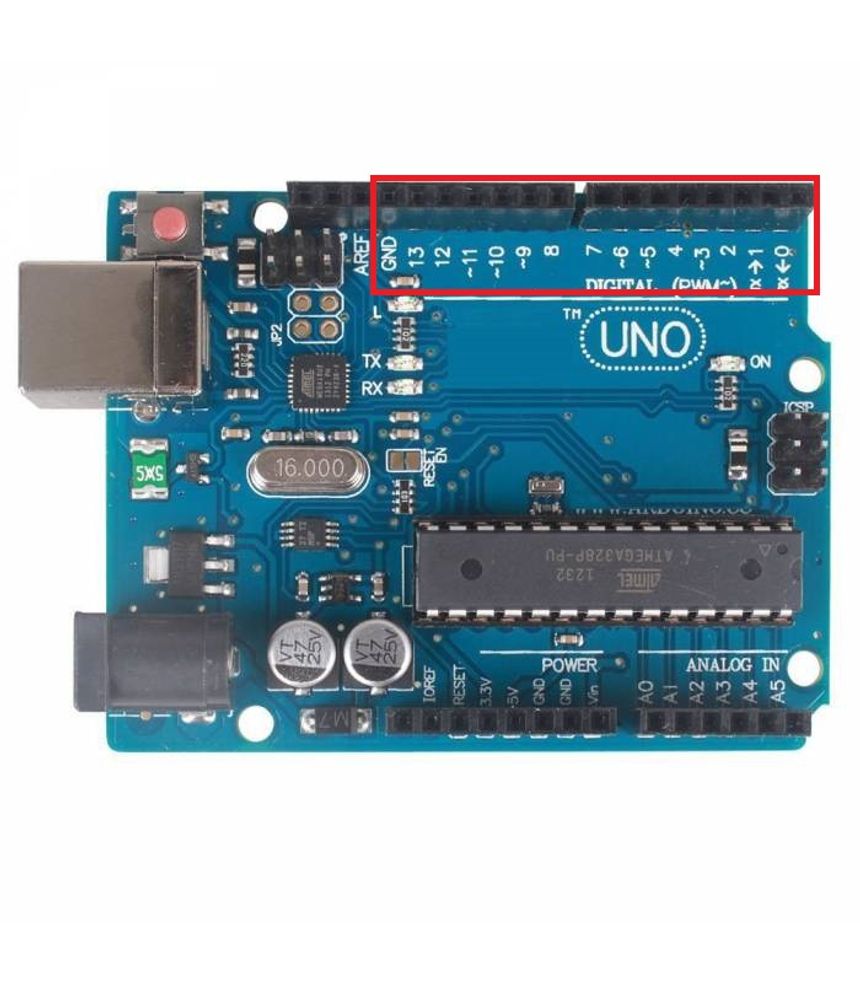
The digital pins! See the holes highlighted on the image below? We can program the Arduino to output some current from each one or we can instruct the Arduino to read if there is current in the pin. We cannot do both, each pin can only be used either as an input or an output.

To flow current out of a digital pin we need to know 2 commands.
pinMode(4,OUTPUT);
pinMode will allow you to set the pin as outputting electricity or read the inputs from something. You’ll notice that there are two things inside the parentheses () separated by a comma ,. First is the pin, second is the mode, either OUTPUT or INPUT. So with the line above I’m specifying the Arduino to use the 4th pin as an output.
digitalWrite(4,LOW);
This command allow you to change the state of a pin. The HIGH state means the pin is turned “on” and the LOW state means the pin is turned “off”. Like pinMode the first element inside the parentheses is the pin you want to control and the second element is the state you want, so in the case above the 4th pin will not be outputting current.
The digital pin is what’s pushing the current in but stuff works when the electricity flows so it needs to come out as well. The current always wants to go the “ground” so just connect the smaller leg of the LED to the GND pin.
Exercise 3
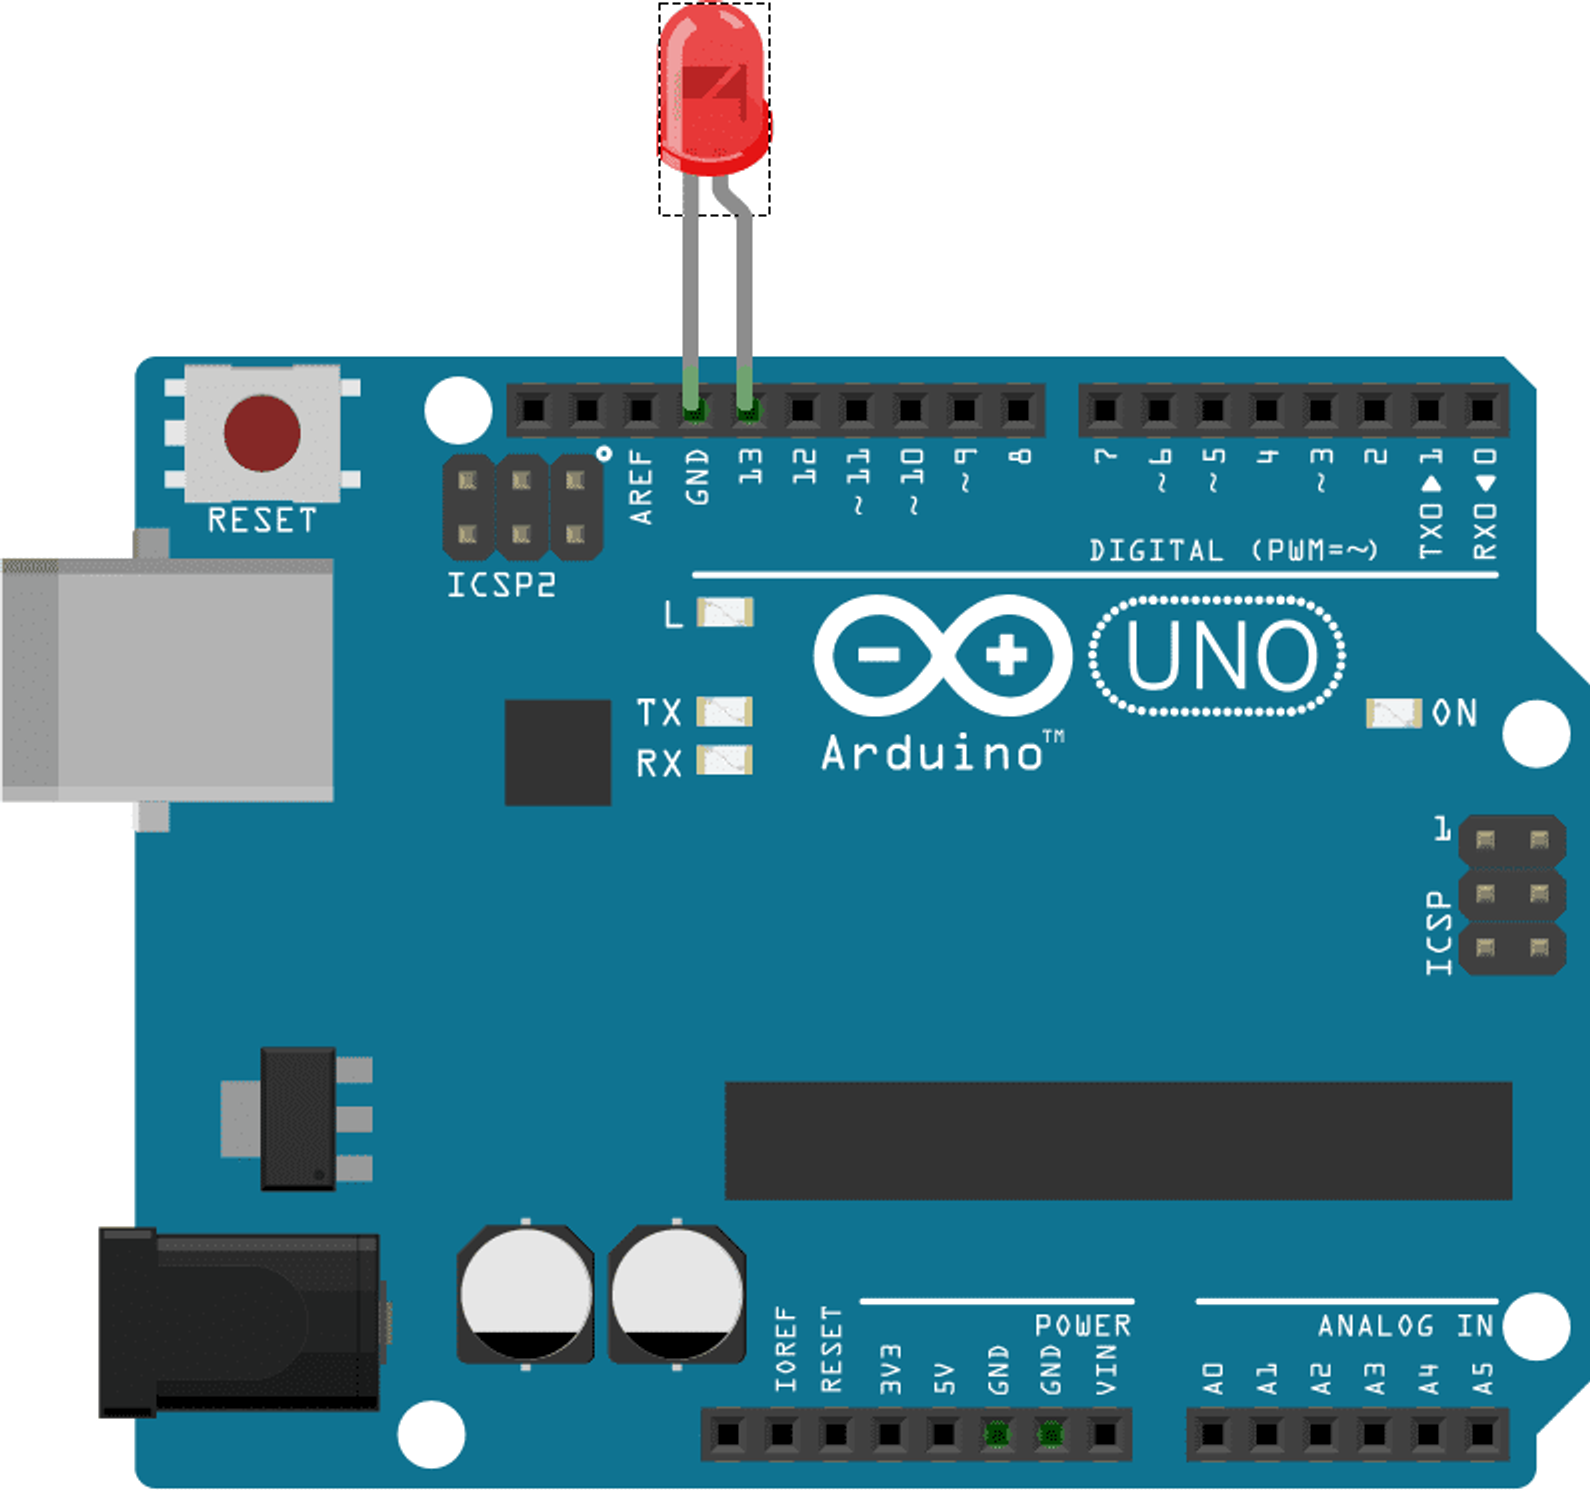
Given the circuit below, what would be the code to turn on the LED? The leg slightly bent on the diagram is the longer leg.

answer
//when starting...
void setup() {
    //configure the 13th pin as an OUTPUT
  pinMode(13, OUTPUT);

    //set the 13th pin to be "on"
  digitalWrite(13,HIGH);
}

void loop() {}
Delay
delay(500);
delay is a command which lets you pause the Arduino for a fixed amount of milliseconds, which is the number between the parentheses. In the example below the Arduino will wait 500 milliseconds when this instruction is read.
Exercise 4
Make the LED blink on and off every second. You can reuse the same circuit as in exercise 3.
answer
void setup() {
  pinMode(13, OUTPUT);
}

void loop() {
    digitalWrite(13,HIGH);//turning on
    delay(50);//...wait 50 milliseconds before moving on
    digitalWrite(13,LOW);//turn it off...
    delay(1000);//...wait one second, before looping back, which start with turning it on
}