Arduino from the ground up
The list of stuff needed for the course :
BOM
Mandatory
- Arduino Uno
- USB B male <=> USB A male cable
- male - male jumper cables
- SMD pushbutton
- MPR121
- KY-038 mic module
- Servo motor (any kind)
- 3 through hole, monochrome, 5mm, LEDs
- 10k Ohms potentiometer
- breadboard (at least a half sized)
- ws2812b LED strip (a.k.a “neopixels”)
- a 470 Ohms resistor
- 1000 μF capacitor
Optionnal
- 1k Ohms resistor
- some aluminum foil
- female - male jumper cables
Getting the software
Go to https://www.arduino.cc/en/software
And then select "Win 10 and newer if you're on windows,
or select "Mac OS" if you're on MacOS.
If you're on Linux, I'll let you take the wheel on this.

I’m not going to guide you through the process of installing software on your computer, you all know how to do it, just press “Next” and don’t read the TOS, it’ll be fiiiiiiiiiiiiine.
Setting up the hardware
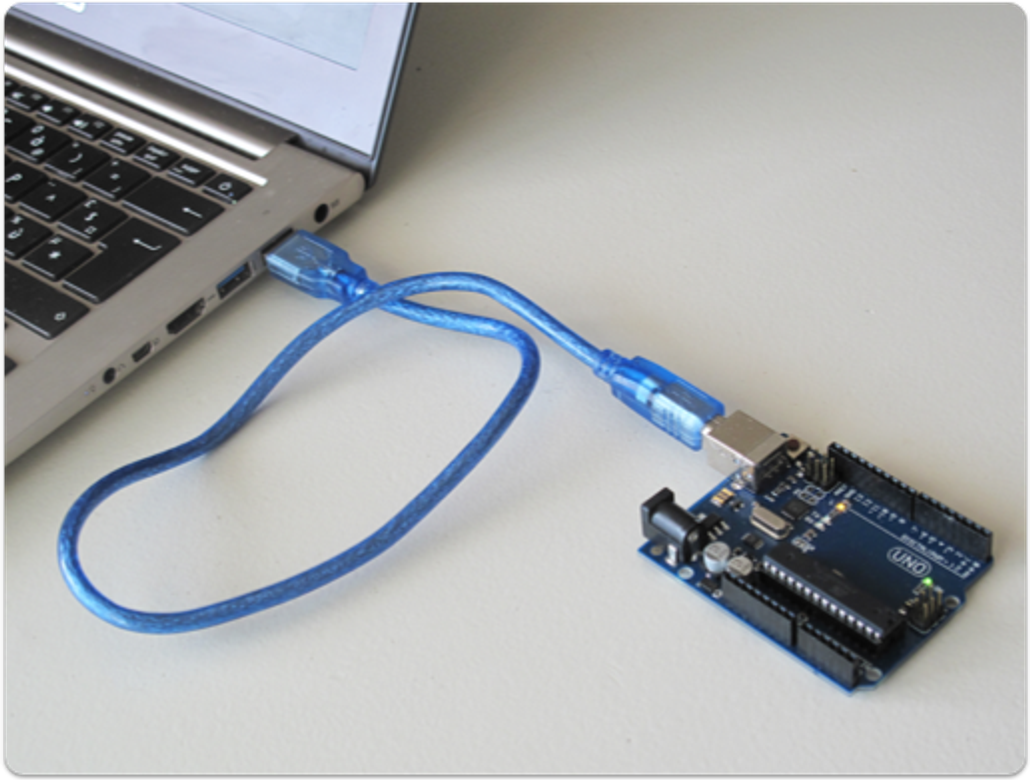
Once you have downloaded, installed, and then opened the Arduino IDE you can plug your Arduino UNO to your laptop thank to the USB-B cable. (Try to not go through a USB adapter if you can)
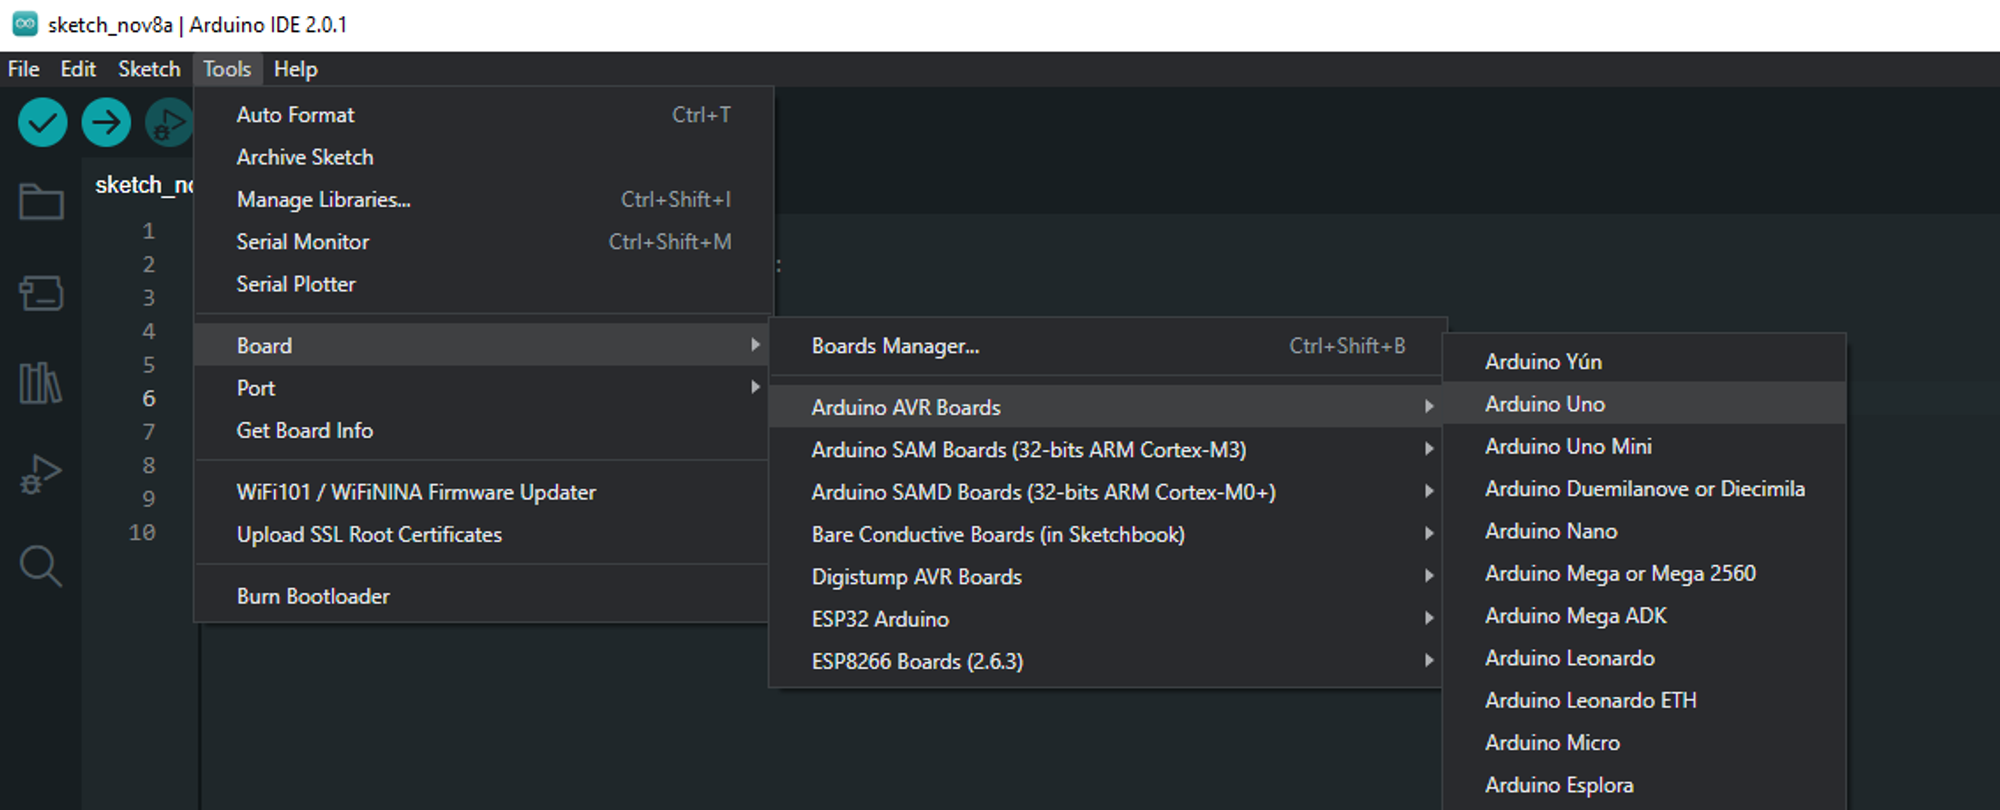
Make sure that in Tools > Board the “Arduino Uno” board is selected.
Then go into the Tools > Port and select the one which shows “Arduino Uno”
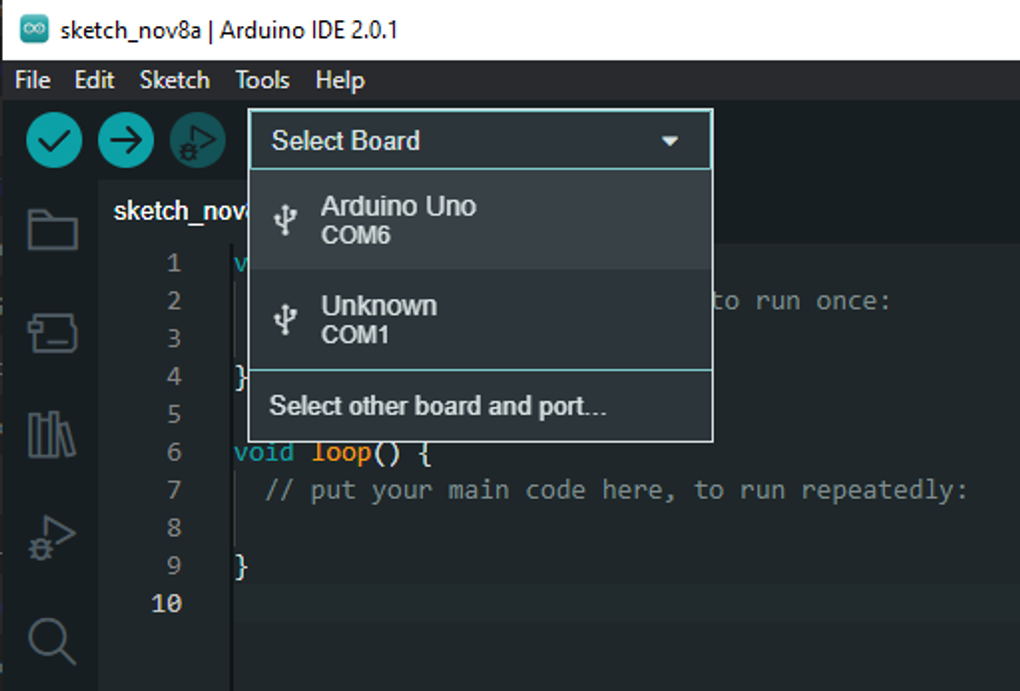
Now you are ready to go. 🎉
The base project
When you opened the editor, there was this code already. That’s the basic structure of an Arduino project, you can’t escape it.
void setup() {
  // put your setup code here, to run once:

}

void loop() {
  // put your main code here, to run repeatedly:

}
But, I’d like to ask you to start all your projects from this instead.
// put your setup code here, to run once at the start
void setup() {

    //starts a connection between the Arduino and the computer
    Serial.begin(9600);//9600 is the number of times the signal can be updated per second in the wire (you have the absolute permission to not care about that, just put 9600)

    Serial.println("Hello :3");//send whatever is between the () to the computer
}

// put your main code here, to run over and over and over and...
void loop() {


}
You can identify two blocs, the setup bloc delimited by its pair of curly braces {} . And the loop bloc also delimited by its {}.
The instructions inside of the setup bloc will be executed once the Arduino starts, and then the Arduino will execute the instruction inside of loop and once that is done it will instantly go back at the start of loop and do it again ... and again ... and [...]
Everything on the right of a // is called a “comment” and is completely ignored by the checker and the Arduino, that’s useful to leave notes/explanations for yourself or a future reader.
The code is read/done top to bottom, on line at a time.
Right now, the code is in your editor but not in your Arduino so “it’s not working”. To transfer (i.e. upload) the code to your Arduino use this button.
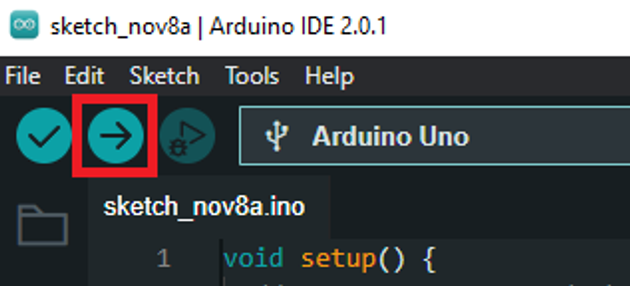
The button on the left is “check” which mean it will check if your code is valid. This means it will check if the instruction are properly written according to the language. It will not check that your code is smart, you could give the most nonsensical instructions and it would work so long as they are in proper C++.
The button upload will check your code and then, if it’s correct, put it on the Arduino but it won’t if there was error. Due to that, you can use it for checking your code.
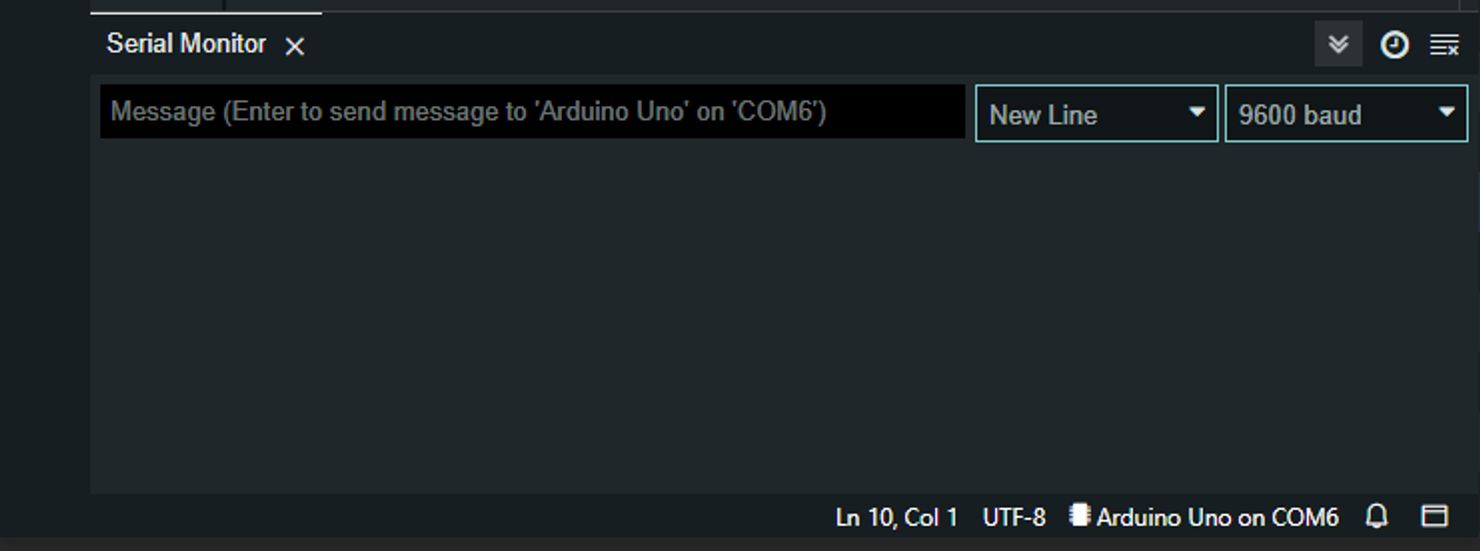
But, the button on the far right is very handy vital. It opens the connection between your Arduino and your computer to receive the messages sent by your Arduino. We call that the “Monitor”. Which will be your primary tool to understand what the f*ck is going on when it “doesn’t work”.

Exercise 1
Modify the code so that you get your name in the monitor.
answer
void setup() {
  Serial.begin(9600);//openning of the connection
    //sending of the message through the connection
  Serial.println("your name");
}

void loop() {
}
Exercise 2
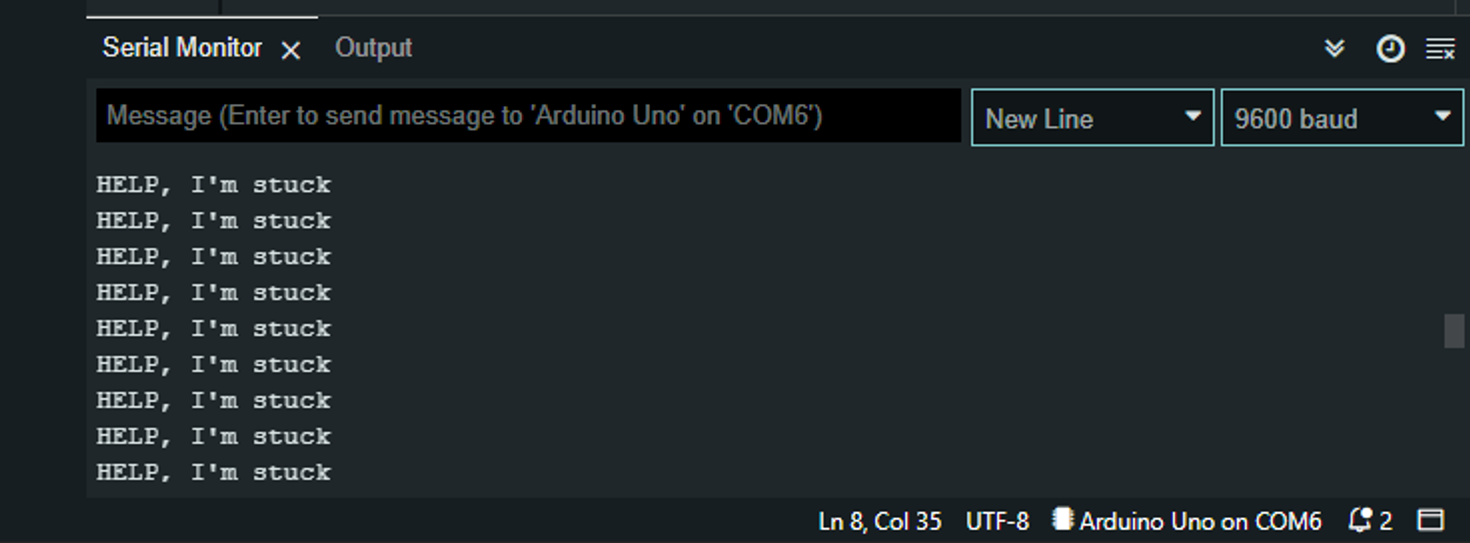
Modify the code so you get something like this.
Note : Your code must not be longer than 10 lines.
answer
void setup() {
  Serial.begin(9600);
}

//remember the loop bloc executes its commands
//over and over and over again
void loop() {
  Serial.println("HELP, I'm stuck");
}